
Introduction
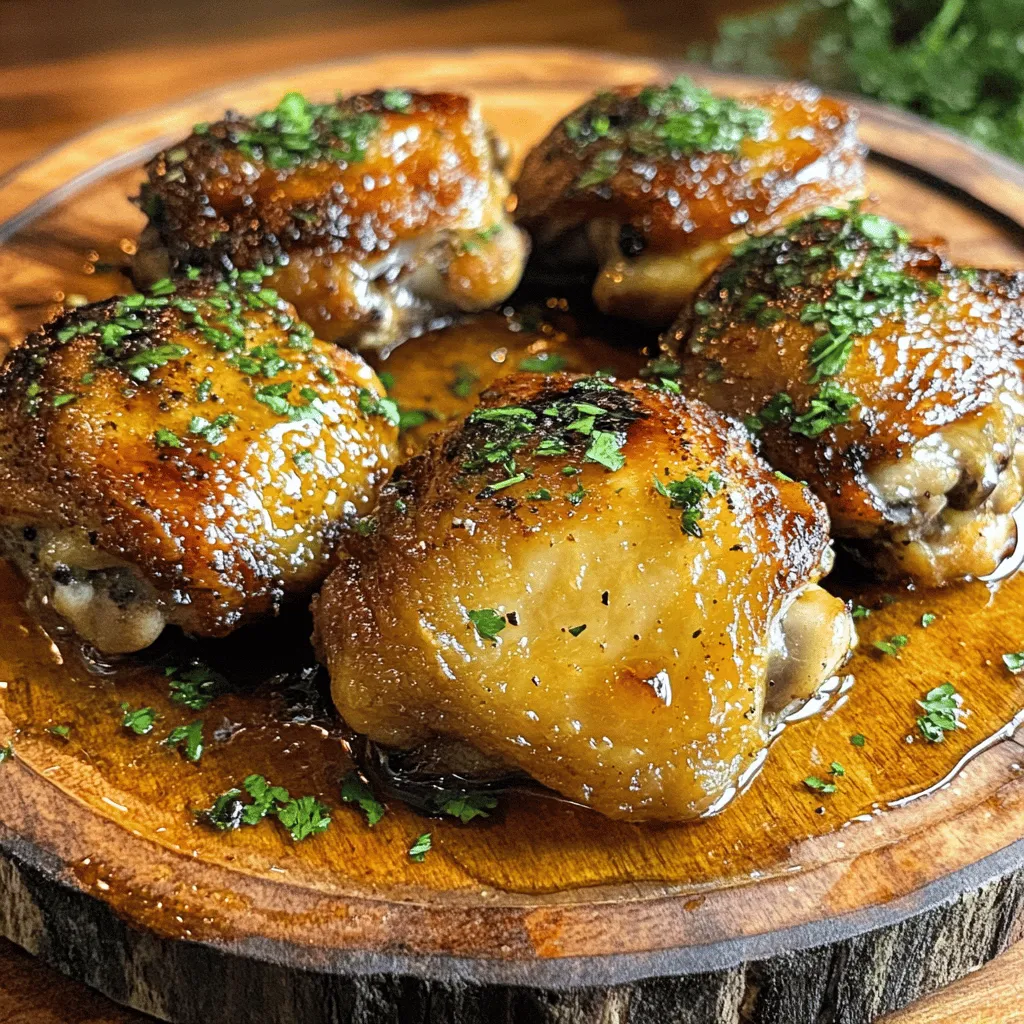
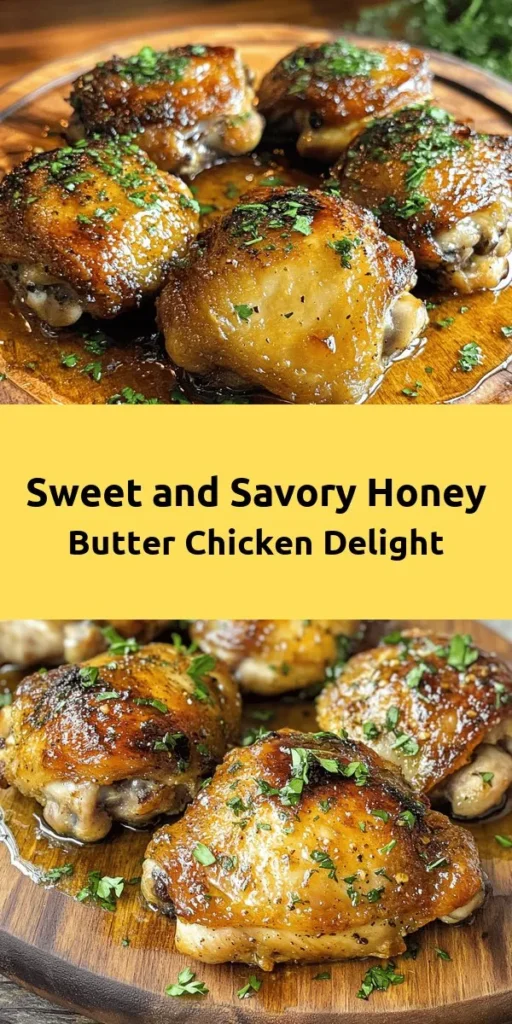
Honey Butter Chicken is a delightful dish that brings together the comforting essence of fried chicken with a rich, sweet, and buttery sauce. This culinary creation strikes a perfect balance between sweet and savory, making it a favorite among chicken lovers and home cooks alike. The dish’s mouthwatering appeal lies in its crispy exterior, tender meat, and the luscious honey butter sauce that elevates the flavors to a whole new level. Whether served at family gatherings, festive occasions, or even a casual weeknight dinner, Honey Butter Chicken has become a beloved staple that pleases palates of all ages.
The allure of Honey Butter Chicken goes beyond its taste; it embodies the warmth of home cooking and the joy of sharing meals with loved ones. Its popularity has surged, especially in recent years, as more people seek to recreate restaurant-style dishes in their own kitchens. The combination of crispy fried chicken and a sweet sauce not only satisfies the appetite but also evokes feelings of nostalgia and comfort.
Understanding Honey Butter Chicken
To truly appreciate Honey Butter Chicken, it is essential to understand its origins and cultural significance. This dish is often associated with Southern cuisine, where fried chicken holds a special place in the hearts of many. The evolution of fried chicken recipes in American cuisine can be traced back to various influences, including African, Scottish, and Native American culinary traditions. Each culture contributed unique techniques and flavors, resulting in the diverse fried chicken variations we enjoy today.
The key component that sets Honey Butter Chicken apart is undoubtedly the honey butter sauce. This sauce acts as a flavor enhancer, transforming the ordinary into the extraordinary. The combination of honey and butter creates a rich, glossy glaze that not only adds sweetness but also lends a silky texture to the dish. In essence, the honey butter sauce is the soul of this recipe, binding the crispy chicken and complementing its savory elements.
Ingredients Breakdown
A successful Honey Butter Chicken recipe relies on high-quality ingredients, each playing a crucial role in achieving the perfect dish. Here’s a closer look at the main components:
Chicken Thighs
While many recipes call for chicken breasts, chicken thighs are the preferred choice for Honey Butter Chicken. The reason? Juiciness and flavor. Chicken thighs are inherently more tender and flavorful than breasts, resulting in a succulent bite. Their higher fat content ensures that the meat remains moist during cooking, making them an ideal candidate for frying.
Buttermilk
One of the secrets to achieving tender and flavorful chicken lies in marinating it in buttermilk. This tangy dairy product not only enhances the chicken’s flavor but also acts as a tenderizer. The acidity in buttermilk breaks down the proteins in the chicken, resulting in a juicy and tender texture. Marinating the chicken in buttermilk also helps the breading adhere better, ensuring a crispy coating.
Flour and Seasonings
The breading is what gives Honey Butter Chicken its signature crunch. A well-seasoned flour mixture is essential for creating the perfect crispy coating. Typically, all-purpose flour is used as the base, but it is crucial to add a blend of seasonings to elevate the flavor. Common seasonings include garlic powder, onion powder, paprika, and salt. This combination not only enhances the taste of the coating but also complements the rich flavors of the chicken and honey butter sauce.
Honey and Butter
At the heart of the dish lies the honey and butter combination that creates the sauce. Honey provides the sweetness that balances the savory elements of the fried chicken, while butter adds richness and depth. Together, they create a luscious glaze that coats the chicken, making every bite a delightful experience.
Optional Ingredients
To add an extra kick to your Honey Butter Chicken, consider incorporating optional ingredients such as cayenne pepper. This spice introduces a subtle heat that beautifully contrasts with the sweetness of the honey. Adjust the amount based on your preference for spice, allowing you to customize the dish to your liking.
Marinating the Chicken
Marination is a crucial step in preparing Honey Butter Chicken, as it not only infuses the chicken with flavor but also ensures tenderness. Here’s a step-by-step guide on how to marinate chicken thighs effectively:
1. Choose Your Container: Opt for a non-reactive container, such as a glass bowl or resealable plastic bag, to avoid any chemical reactions with the marinade.
2. Combine Ingredients: In your chosen container, pour in enough buttermilk to cover the chicken thighs completely. Add a pinch of salt and any additional seasonings you desire (such as garlic powder or black pepper) to enhance the flavor.
3. Add the Chicken: Place the chicken thighs in the buttermilk mixture, ensuring they are well-coated. If using a plastic bag, seal it tightly and gently massage the marinade into the chicken.
4. Marinate: Allow the chicken to marinate in the refrigerator for at least 1 hour, but ideally, let it sit for 4 hours or even overnight. This extended marination allows the flavors to penetrate the meat and results in a more tender texture.
5. Storage Tips: If you are marinating ahead of time, ensure the chicken is stored in the refrigerator at all times. Avoid leaving it at room temperature, as this can lead to bacterial growth.
Tips for Marinating
– Use Fresh Ingredients: Always use fresh buttermilk for the best flavor and tenderizing effect.
– Time Matters: While marinating for at least an hour is essential, longer marination times yield even better results. Overnight marination is ideal for maximum tenderness.
– Keep It Cool: Always marinate your chicken in the refrigerator to ensure safety and prevent spoilage.
Preparing the Breading
Once your chicken thighs have marinated, it’s time to prepare the breading that will give your Honey Butter Chicken its signature crunch. The breading process is simple yet crucial for achieving that perfect crispy coating. Follow these steps for optimal results:
1. Set Up Your Breading Station: Arrange three shallow dishes—one for flour, one for beaten eggs (optional), and one for breadcrumbs (if using). This will streamline the breading process.
2. Season the Flour: In the first dish, combine all-purpose flour with your chosen seasonings. A simple blend of salt, pepper, garlic powder, and paprika works wonders. Mix well to ensure an even distribution of flavors.
3. Prepare the Chicken: Remove the marinated chicken thighs from the refrigerator, allowing any excess buttermilk to drip off. If you choose to use eggs, dip each thigh into the beaten eggs before coating it in the seasoned flour. This extra step helps create a thicker, crispier coating.
4. Coat the Chicken: Dredge each thigh in the seasoned flour, ensuring it is fully covered. Press the flour onto the chicken to create a good seal, which will help the coating stay intact during frying.
5. Let It Rest: After breading, allow the chicken to rest on a wire rack for about 10-15 minutes. This resting period helps the coating adhere better and enhances the overall texture when frying.
Following these steps will set you on the path to creating a delicious Honey Butter Chicken that is sure to impress family and friends. The combination of succulent chicken, crispy breading, and a sweet butter sauce makes this dish a standout choice for any meal. In the next part of this article, we will delve into the frying process and how to serve the dish for maximum enjoyment. Stay tuned for more tips and tricks to elevate your Honey Butter Chicken experience!
Techniques for Achieving the Right Coating Texture
To achieve that perfect coating texture for your honey butter chicken, the process begins before frying. The flour mixture is crucial; it should be light yet flavorful, providing a satisfying crunch once cooked. Here’s how to ensure your coating is just right:
1. Use a Combination of Flours: Combining all-purpose flour with cornstarch can give your chicken a lighter, crispier texture. The cornstarch helps absorb moisture, creating a crunchier crust.
2. Season Well: Don’t just rely on the honey butter sauce for flavor; season your flour with salt, pepper, and other spices like paprika or garlic powder to enhance the chicken’s taste.
3. Proper Dredging Technique: Dredge the chicken pieces in flour thoroughly, ensuring you shake off any excess. This prevents clumping and ensures an even coating.
4. Let it Rest: After dredging, let the coated chicken rest for about 10-15 minutes. This helps the coating adhere better during frying, resulting in a more uniform crust.
Frying the Chicken
Choosing the Right Oil and Heat Level for Frying
For frying your chicken, it’s important to choose the right oil and maintain the correct heat level. Vegetable oil or peanut oil are excellent choices due to their high smoke points, allowing for crispy frying without burning.
1. Heat the Oil: Use a deep skillet or a fryer and fill it with at least 2-3 inches of oil. Heat the oil to 350°F (175°C). A deep-frying thermometer can help you monitor the temperature accurately.
2. Batch Frying: Avoid overcrowding the pan, which can lower the oil temperature and result in greasy chicken. Fry in batches, allowing enough space for the chicken to cook evenly.
Step-by-Step Frying Instructions for Perfect Doneness
1. Prepare the Chicken: After the chicken pieces have rested, carefully place them in the hot oil, skin-side down if applicable.
2. Cooking Time: Fry each piece for about 8-10 minutes per side, depending on thickness, until golden brown. Use tongs to turn the chicken halfway through cooking.
3. Check for Doneness: The internal temperature should reach 165°F (74°C). You can use a meat thermometer to check the thickest part of the chicken.
Signs of Perfectly Fried Chicken
– Color: Look for a deep, golden-brown color.
– Texture: The coating should be crispy and firm to the touch.
– Internal Temperature: As mentioned, 165°F (74°C) is the safe zone for poultry.
Safety Tips for Frying
– Avoiding Splatter: Use a splatter guard to minimize mess. Additionally, ensure your chicken isn’t wet; pat it dry before frying to prevent excess oil splatter.
– Handling Hot Oil: Always keep a safe distance from the oil, and use long-handled tongs to manage the chicken. Have a fire extinguisher nearby, just in case.
Making the Honey Butter Sauce
Step-by-Step Guide to Creating the Honey Butter Sauce
1. Ingredients: Gather ½ cup of unsalted butter, ½ cup of honey, and a pinch of salt.
2. Melting the Butter: In a small saucepan over low heat, melt the butter gently. Avoid boiling, as this can change the flavor of the butter.
3. Combine with Honey: Once the butter is melted, remove it from the heat and stir in the honey until fully combined. Add a pinch of salt to balance the sweetness.
The Significance of Low Heat When Combining Ingredients
Cooking your honey butter sauce over low heat ensures that the flavors meld without burning the butter. This gentle approach allows the honey to integrate smoothly, creating a rich, cohesive sauce that clings perfectly to the chicken.
Variations for the Sauce
– Spicy Honey Butter: Add a pinch of cayenne pepper or chili flakes for a spicy kick.
– Herb-Infused: Incorporate fresh herbs such as thyme or rosemary for a fragrant twist.
– Citrus Zest: Adding a teaspoon of lemon or orange zest can brighten the flavor profile of the sauce.
Coating the Fried Chicken with Sauce
Techniques for Evenly Coating the Chicken with Honey Butter Sauce
Once your chicken is perfectly fried and golden brown, it’s time to coat it with the honey butter sauce. Follow these techniques for the best results:
1. Immediate Coating: Coat the chicken while it’s still hot from the fryer. This helps the sauce adhere better.
2. Use a Brush or Toss: You can either use a brush to apply a layer of the honey butter sauce over the chicken or place the chicken in a bowl and toss it gently to ensure an even coating.
Importance of Timing in Coating
Timing is critical. The heat from the chicken will allow the sauce to stick better, creating a delicious, glossy finish. If the chicken cools too much, the sauce may slide off rather than cling.
Serving Suggestions
Ideal Side Dishes to Complement Honey Butter Chicken
Honey butter chicken is a versatile dish that pairs well with various sides. Here are some suggestions:
– Mashed Potatoes: Creamy mashed potatoes with a hint of garlic make a perfect companion, absorbing the honey butter sauce beautifully.
– Fresh Salads: A crisp green salad with a tangy vinaigrette balances the richness of the chicken.
– Seasonal Vegetables: Roasted or steamed vegetables like asparagus, broccoli, or green beans add color and nutrition to your plate.
Presentation Tips for a Delightful Serving Experience
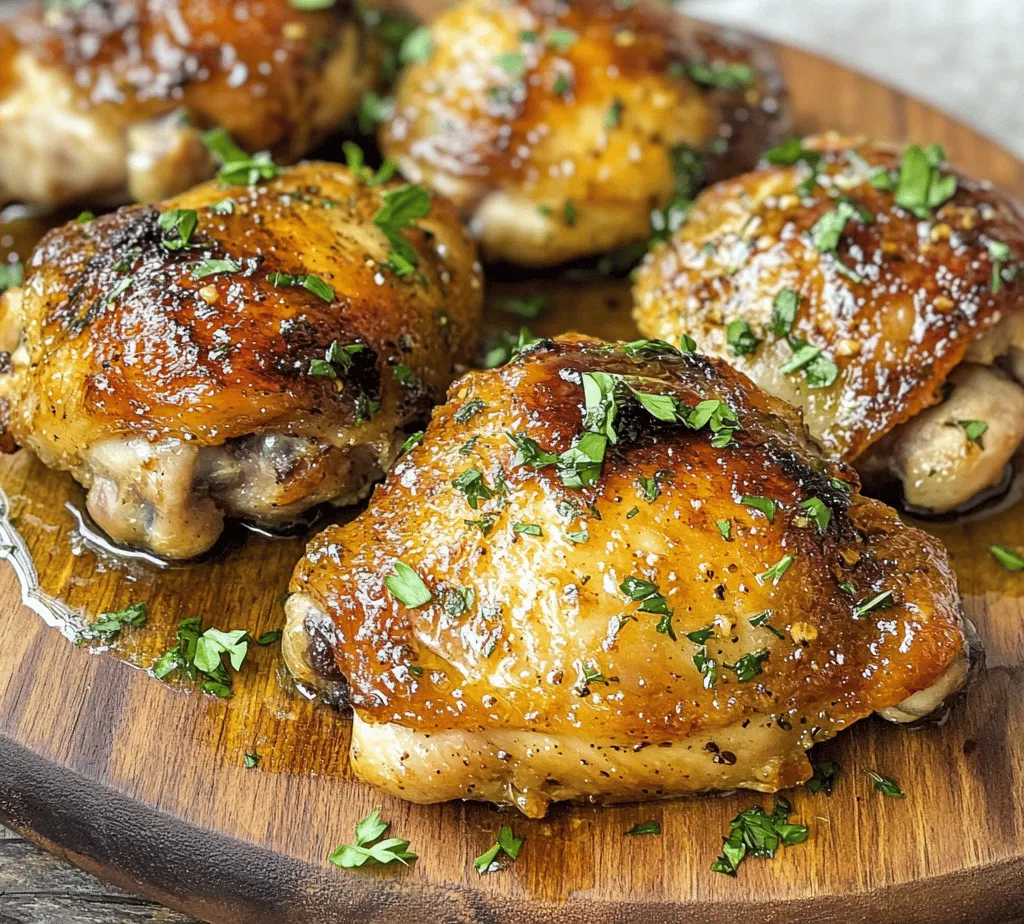
– Plating: Arrange the chicken on a large platter, drizzling additional honey butter sauce over the top.
– Garnish: Sprinkle with fresh herbs like parsley or chives for a pop of color.
– Serving Style: Consider serving with a side of dipping sauce or a squeeze of lemon for an extra flavor boost.
Nutritional Information
Overview of Calories and Nutritional Content per Serving
A serving of honey butter chicken typically contains approximately 400-500 calories, depending on the portion size and specific ingredients used. Nutritional content may vary based on frying technique and side dishes added.
Discussion on Balancing Indulgent Meals with Healthy Choices
While honey butter chicken is a delicious treat, it’s essential to balance indulgent meals with healthier choices. Incorporating vegetables and whole grains can enhance the dish’s nutritional profile, making it a well-rounded meal that satisfies both taste and health.
Conclusion
In summary, honey butter chicken is a delightful dish that combines the savory crunch of fried chicken with the sweet richness of honey butter sauce. By following the steps outlined in this recipe, you can achieve perfectly fried chicken with a deliciously sticky coating that is sure to please your family and friends.
Whether you’re looking for a comforting weeknight dinner or a dish to impress guests at gatherings, honey butter chicken delivers on taste and versatility. It’s easy to customize with your favorite sides and sauces, making it a go-to recipe for any occasion.
So, gather your ingredients, fire up the stove, and enjoy the delightful flavors of this honey butter chicken recipe. Your taste buds will thank you!
